 Try this styleon your selfie · free
Blush Draping: The Lifted Flush
Published November 27, 2025
The retro placement trick that pulls cheeks up, sculpts the face, and replaces contour entirely.
What Blush Draping Actually Is
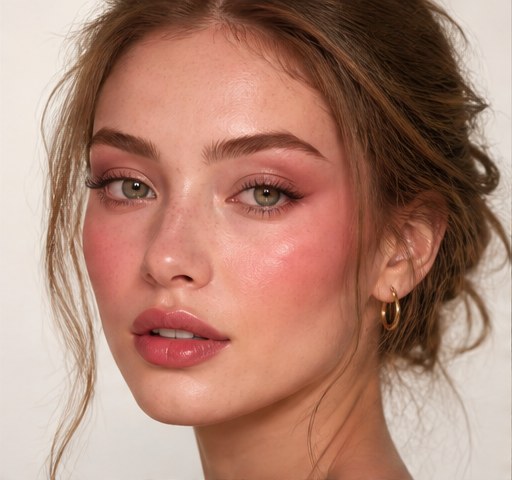
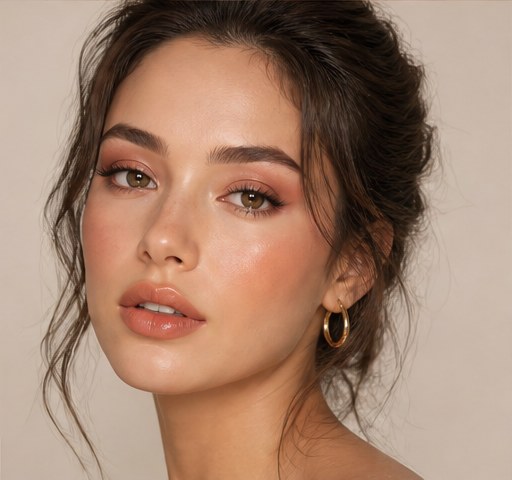
Blush draping is a placement technique, not a product, that sweeps colour from the apples of the cheeks up and out toward the temples and into the hairline. Instead of a small round dot of colour, you create a broad diagonal wash that mimics the way light hits a lifted face. The look was born in the 1970s and revived by makeup artists who wanted warmth and lift without heavy bronzer or contour. The result reads as a flush that lifts the whole midface rather than a blob of pink in the centre.
Why It Flatters Almost Everyone
Because the colour travels upward and outward, draping visually pulls the cheekbones higher and counteracts a downturned or tired-looking face. It adds a youthful, just-came-in-from-the-cold glow that flat blush placement can't replicate. People with rounder faces benefit because the diagonal sweep adds angle, while longer faces benefit from keeping the colour wider rather than dragging it down. It also works as a contour replacement for anyone who finds traditional sculpting too harsh or muddy on their skin tone.
Choosing the Right Blush Formula
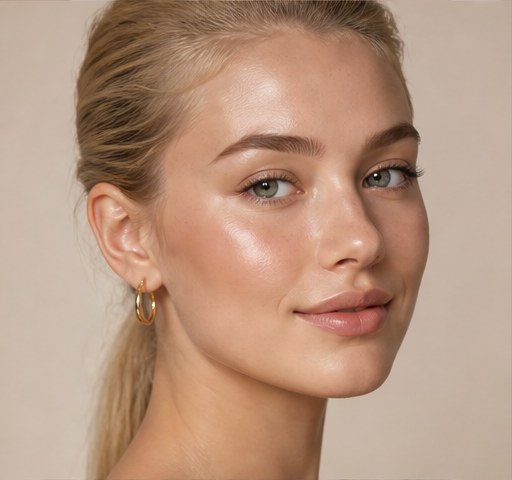
Cream and liquid blushes are ideal for draping because they melt into skin and can be layered up the cheekbone without a powdery edge. Apply cream first on bare or freshly moisturised skin, then optionally set with a matching powder blush pressed over the top for staying power. Powder-only draping works too if you use a fluffy brush and build slowly, but creams give that lit-from-within finish that suits the technique best. Avoid anything overly shimmery low on the cheek, since draping looks most elegant with a satin-to-soft finish.
Picking Your Shade
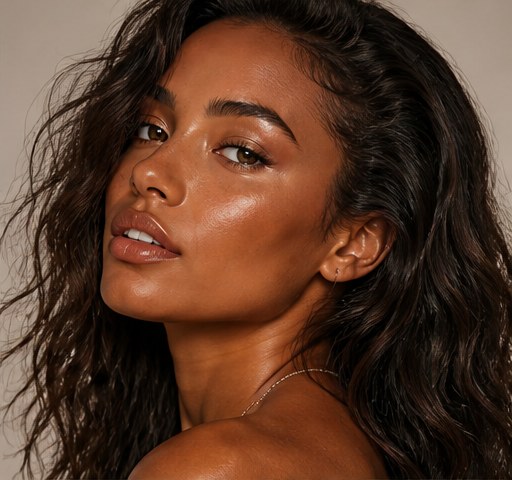
Cool skin tones glow in raspberry, rose, and berry tones, while warm tones come alive in coral, peach, terracotta, and brick. Deeper skin can carry rich plums, brick-reds, and warm bronzes that lighter shades would disappear into, so don't be afraid of intensity. A good test is to pinch your cheek and match the natural flush that appears. If you want a sculpted effect, choose a slightly muted, mauve-leaning shade so the colour does double duty as soft contour.
Step-by-Step Application
Smile gently to find the apples, then place colour there and use a stippling brush or fingers to drag it up toward the top of your ear in one diagonal motion. Build in thin layers, focusing the deepest concentration just below the cheekbone and fading it as you reach the temple. Blend the edges in small circular motions so there is no hard line where the drape ends. Finish by tapping a tiny bit of the same colour onto the eyelids or across the bridge of the nose to tie the face together.
Common Mistakes to Avoid
The biggest error is placing colour too low or too round, which drags the face down instead of lifting it. Going too heavy at once is the second pitfall, because cream blush grabs fast and is hard to sheer out once over-applied. Forgetting to blend the upper edge leaves a visible stripe toward the temple. Finally, skipping a light hand on fair skin can tip the look from lifted flush into sunburn, so always build gradually and step back from the mirror between layers.
Make It Last All Day
Layering is the secret to longevity: cream blush on skin, a powder blush of the same family pressed on top, and a light mist of setting spray to lock it in. For oily skin, a touch of translucent powder under the blush gives it more grip. If you tend to fade by midday, keep a small cream blush in your bag and tap a little back onto the apples without disturbing the rest of your face. Before committing to a bold drape for an event, preview the placement on your selfie in GlowMaxing to see how the colour and angle read on your features.
The quick checklist
- Use cream or liquid blush for the most seamless drape
- Place colour on the apples and sweep up toward the temple
- Build in thin layers so the colour never grabs too hard
- Match your shade to your natural pinch-flush tone
- Blend the upper edge so there is no visible stripe
- Set with powder blush plus setting spray for all-day wear
✦ Free to start✨ Try these looks on your own selfie with GlowMaxing →Upload one selfie and try any hairstyle, color or makeup look instantly with AI. Free to start.Download on theApp Store