Published November 23, 2025
The crisp, carved eyelid look broken down into foolproof steps anyone can master at home.
Understanding the Cut Crease
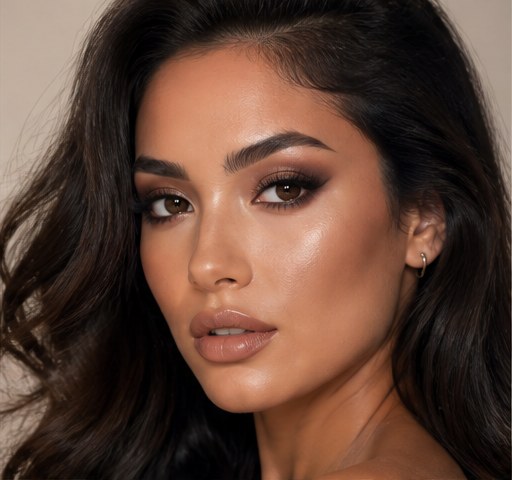
A cut crease creates a sharp, defined line in the crease of the eye with a clean, often bright or shimmery lid below it. The contrast between the dark crease and the bright lid makes the eyes look bigger and more sculpted. It looks intimidating, but it's really just two clearly separated zones: a blended dark crease and a crisp, carved lid. Once you understand that structure, the rest is about clean edges and patience.
Tools That Make It Easier
A small flat brush or a precise concealer brush is essential for carving the clean lid line. A fluffy blending brush handles the crease, and a tapered pencil brush helps deepen the outer corner. Concealer is your secret weapon because it both cleans up edges and acts as a bright base for the lid. A good eyeshadow primer underneath everything keeps the carved line crisp and prevents creasing as the day goes on.
Mapping the Crease First
Start by applying a transition shade in your natural crease with windshield-wiper motions to create a soft gradient. Then deepen the outer corner and crease with a darker matte shade so the eye already has dimension before you carve. This blended foundation is what makes the final cut look intentional rather than harsh. Building the crease before cutting also means you have a guide for exactly where to place your clean line.
Carving the Clean Line
Dip a flat brush into concealer and draw it across the lid just below your blended crease, carving a sharp line with the flat edge. Keep your eye relaxed and look straight into a mirror tilted slightly down so you can see the full lid. Take your time and follow the natural curve of your eye for the cleanest result. Set the concealer immediately with a matching shadow or a bright shade so it doesn't crease or smudge.
Dressing the Lid
Now pack your chosen lid colour onto the carved area, whether that's a bright shimmer, a metallic, or a clean satin shade. Press the colour on with a flat brush or finger for maximum payoff against the concealer base. The crisp boundary between this lid colour and the dark crease is the entire point of the look, so keep the line sharp. A pop of glitter or a metallic topper on the centre takes a basic cut crease to full glam.
Finishing With Liner and Lashes
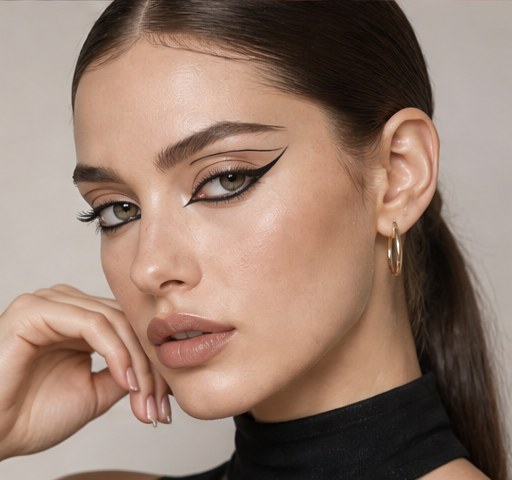
A winged liner pairs naturally with a cut crease because it extends the sharp lines you've already created. Tightline or add a thin upper line to ground the lashes, then apply mascara or falsies for impact. A clean lower lash line with a touch of shimmer in the inner corner brightens the whole eye. Keep the rest of the face balanced with soft blush and a neutral lip so the carved eye stays the focal point.
Practice Tips and Trying It On
Cut crease is a skill that genuinely improves with repetition, so practice on one eye until the line feels natural before worrying about symmetry. Hooded eyes should carve the line slightly higher and check placement with the eyes open, since the crease can disappear under the hood. Keep a cotton swab dipped in micellar water nearby to fix any wobbly edges instantly. Preview different lid colours on your selfie in GlowMaxing so you know which shade you want before you start carving.
The quick checklist
- Blend a transition and dark crease shade before you carve
- Use concealer on a flat brush to cut the clean lid line
- Set the concealer right away so it doesn't crease
- Press lid colour on for full payoff against the base
- Pair with winged liner to extend the sharp lines
- Practice on one eye and fix edges with a damp cotton swab
 ✦ Free to start✨ Try these looks on your own selfie with GlowMaxing →Upload one selfie and try any hairstyle, color or makeup look instantly with AI. Free to start.Download on theApp Store