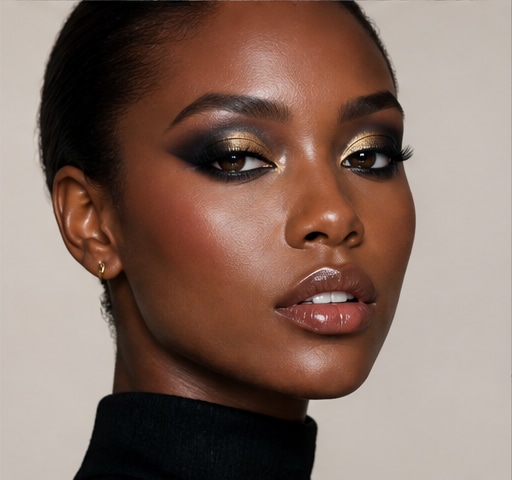
 Try this styleon your selfie · free
How to Glow Up Your Selfie Game With Lighting and Angles
Published August 27, 2026
No new face required; better light and smarter angles do most of the heavy lifting.
Lighting Beats Everything Else
Before angles, poses, or editing, lighting is the single biggest variable in how a selfie looks, and the good news is the best light is free. Soft, even, natural light is the most flattering because it smooths skin, reduces harsh shadows, and brings out a healthy glow without distortion. The classic move is to face a large window during daytime, with the light in front of you, not behind. Overcast days are secretly ideal because clouds act like a giant softbox. Avoid harsh overhead lighting, which casts unflattering shadows under the eyes and nose, and avoid mixed colored light that turns skin orange or sickly. Master this one factor and your selfies improve more than any filter could manage. Everything else in this guide is built on top of getting the light right first.
Chase the Golden Hour and Window Light
Timing your light makes a dramatic difference. Golden hour, the soft, warm window shortly after sunrise and before sunset, wraps skin in flattering glow and is universally forgiving. Indoors, position yourself a few feet from a window so the daylight falls softly across your face; turning slightly toward it brightens your eyes and adds a natural catchlight that makes you look awake and alive. If the light is too harsh and creating hard shadows, diffuse it by hanging a sheer curtain, which softens everything instantly. At night, face a warm, soft lamp rather than relying on a cold overhead bulb, and keep the source in front of and slightly above you. Avoid backlighting unless you intend a silhouette, because a bright window behind you throws your face into shadow.
Find Your Most Flattering Angle
Almost everyone looks better when the camera is at or slightly above eye level, because shooting from below emphasizes the chin and nostrils, while a touch above elongates the face and defines the jaw. Hold the phone a little higher than your eyeline and look up toward it. Extend your neck slightly forward and down, sometimes called the turtle, to sharpen the jawline and avoid a double chin; it feels unnatural but photographs well. Most faces have a preferred side, so turn a few degrees rather than facing the lens dead-on, which can flatten features. Experiment by taking a quick series at slightly different heights and turns, then compare. Within a handful of shots you'll spot your reliable angle, and once you know it, every future selfie starts from a winning position.
Pose and Expression That Read Natural
Stiff poses and forced smiles are what make selfies feel awkward, so loosen up. Relax your shoulders and create a little distance between your arm and body to look slimmer and less rigid. For a genuine smile, exhale gently and think of something that actually amuses you; a real smile engages the eyes, which the camera reads as warmth. If you prefer a softer, neutral expression, slightly part your lips and relax your jaw rather than clenching. Lightly pressing your tongue to the roof of your mouth subtly defines the jawline. Avoid over-tilting your head, which can look unnatural. The goal is to look like a candid, confident version of yourself, not a posed mannequin. A few seconds of relaxing before the shot does more than any amount of forcing a pose.
Camera Settings and Distance Tricks
Small technical choices sharpen the result. Clean your lens first; a smudged camera is the most common reason selfies look hazy and soft. Use the rear camera when you can, since it's higher quality than the front-facing one, and a timer or volume button to trigger it. Beware the wide front lens up close, which distorts by enlarging whatever's nearest, usually your nose, so hold the phone a bit farther away and zoom slightly, or use portrait mode for a more natural perspective. Tap the screen to focus on your face and adjust exposure so skin looks bright but not blown out. Keep the background simple and uncluttered so you're the clear subject. These quick habits, a clean lens and the right distance, eliminate the most common selfie-killing flaws instantly.
Edit With a Light Touch
Editing should enhance a good photo, not rescue a bad one or rebuild your face. Start with the basics: a small lift in brightness and contrast, slight warmth if the tone is cold, and gentle sharpening. Resist the urge to over-smooth skin into plastic or reshape your features, because heavy edits look obvious and set an unrealistic standard you can't meet in person. Keep some natural texture; pores and a little shine read as real and relatable. If you want to plan a fresh hairstyle or makeup direction for future selfies, you can preview the look on your own selfie with GlowMaxing rather than faking it with a distorting filter. The mark of a great selfie edit is that no one can tell it was edited. Aim for your best real self, polished, not invented.
The quick checklist
- Prioritize soft natural light from a window in front of you
- Shoot during golden hour for warm, universally flattering glow
- Hold the camera at or slightly above eye level, then look up
- Use the turtle, extending your neck forward and down, to define the jaw
- Clean your lens and keep the phone slightly farther to avoid distortion
- Relax your shoulders and aim for a genuine, eye-engaging expression
- Tap to focus on your face and adjust exposure before shooting
- Edit lightly, keeping natural skin texture and your real features
✦ Free to start✨ Try these looks on your own selfie with GlowMaxing →Upload one selfie and try any hairstyle, color or makeup look instantly with AI. Free to start.Download on theApp Store