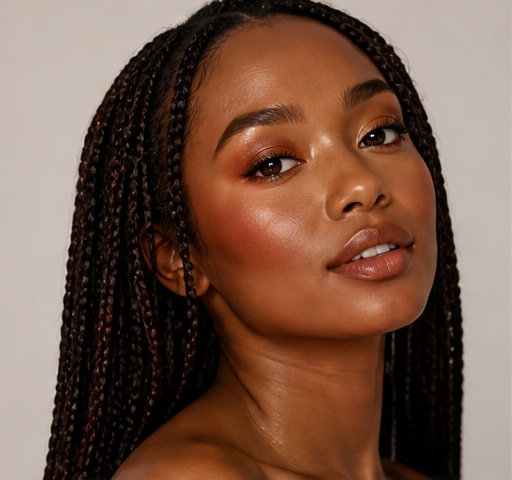
 Try this styleon your selfie · free
Graphic Eyeliner Looks for the Bold and Creative
Published August 14, 2026
Graphic liner turns your eyes into a canvas, and with the right tools and a few mapping tricks, the wildest shapes are surprisingly doable.
What Makes Liner Graphic
Graphic eyeliner is any liner that goes beyond a classic wing into deliberate, often geometric shapes: floating lines, double wings, cut creases traced in liner, dots, negative-space gaps, and color-blocked panels. The defining traits are crisp edges, intentional structure, and a willingness to break from the natural eye shape. It reads as artful rather than just defined. The good news is that the same precision tricks make every variation easier, so once you can draw one clean line, you can draw a floating crease or a graphic flick. The looks range from subtle daytime double-lines to full editorial statements, so you can dip in at any level. Treat your eyelid like a small canvas, the only real skills are steady mapping and clean edges, both of which are learnable in an afternoon of practice.
Tools That Make Precision Possible
Your tools determine whether graphic liner looks sharp or shaky. A liquid liner with a fine felt or brush tip gives the cleanest crisp lines for thin graphic work, while a gel liner with a flat angled brush lets you fill larger blocks of color smoothly. For colored graphic looks, a small flat brush plus a vibrant cream or activated pigment opens up an entire rainbow beyond standard black. Keep flat synthetic brushes for sharp edges and a clean spoolie or cotton swab for fixing slips. A waterproof, long-wearing formula matters because graphic shapes take effort and you don't want them smudging. Start with whatever you own, but if you're serious, a good fine-tip liquid liner is the single most worthwhile upgrade, it does most of the work for you.
Map Before You Commit
The secret behind every clean graphic look is mapping first. Before laying down opaque color, lightly sketch your shape with a thin pencil or a faint line of liner so you can check symmetry and proportion. Use anchor points: line up wings with the outer corner toward the end of the brow, and use the crease or the curve of the eye as a guide for floating lines. For symmetry between eyes, draw both shapes in light dots first, the start, the peak, and the end point, then connect. A common pro trick is to use a small piece of tape or a card as a straight-edge guide for ultra-sharp wings and lines. Always build the shape in light layers; it's far easier to thicken a too-thin line than to erase a too-thick one without smudging the rest.
Beginner-Friendly Graphic Looks to Try
You don't need to start with full editorial art. The easiest entry point is the floating wing, also called the double wing: draw your normal wing, then trace a second parallel line in the crease above it, leaving negative space between. Another approach is the graphic flick extended longer and sharper than usual, then add a tiny accent dot at the inner corner. A colored under-liner, one bright line along the lower lash line in place of the top, is bold but takes seconds. Once comfortable, try negative-space liner where you outline a shape and leave the center bare. Each of these uses the same crisp-edge skills, so they build on each other. Master one clean line and you've basically unlocked the whole category of beginner graphic styles.
Going Bold with Color and Shape
When you're ready to push it, color and geometry are where graphic liner gets exciting. Color-block by pairing two complementary shades, a teal lower line with a warm upper wing, for instance, for instant contrast. Geometric looks like sharp angular wings, V-shapes at the outer corner, or a graphic line tracing a faux crease read as editorial and photograph beautifully. To keep bold colors vivid, lay a thin base of white or nude liner first so the pigment shows true and doesn't go dull against your lid. Balance the rest of the face: with a statement eye, keep skin fresh and lips neutral so the liner stays the focus. If you want to test a daring shape or color combo before committing, you can preview the look on your own selfie in GlowMaxing to see how it suits your eye shape.
Fixing Mistakes and Making It Last
Clean execution is mostly about clean correction. For sharp edges and erasing slips, dip a cotton swab in a little micellar water or makeup remover and run it along the line, this carves a crisp border far better than trying to draw perfectly the first time. A tiny bit of concealer on a flat brush along the underside of a wing sharpens it instantly. To make graphic liner survive a full day, set the shape: press a matching powder or eyeshadow over liquid liner with a small brush to lock it, and choose waterproof formulas to start. Avoid heavy cream products underneath that can cause the liner to slip or break down. If a line smudges midday, don't rub, lift the smudge with a clean swab and re-sharpen the edge with concealer.
The quick checklist
- Use a fine-tip liquid liner for crisp lines and gel for filling color blocks
- Sketch and map your shape lightly before committing to opaque color
- Place light dots at the start, peak, and end to keep both eyes symmetrical
- Use tape or a card as a straight-edge for ultra-sharp wings
- Lay a white or nude base under bright colors so they stay vivid
- Clean up edges with a cotton swab and a touch of concealer
- Set liner with matching powder and use waterproof formulas to last all day
✦ Free to start✨ Try these looks on your own selfie with GlowMaxing →Upload one selfie and try any hairstyle, color or makeup look instantly with AI. Free to start.Download on theApp Store