 Try this styleon your selfie · free
Highlighter Placement That Catches Light
Published November 13, 2025
Exactly where to place highlighter so it catches light and lifts your features.
Understand How Light Hits the Face
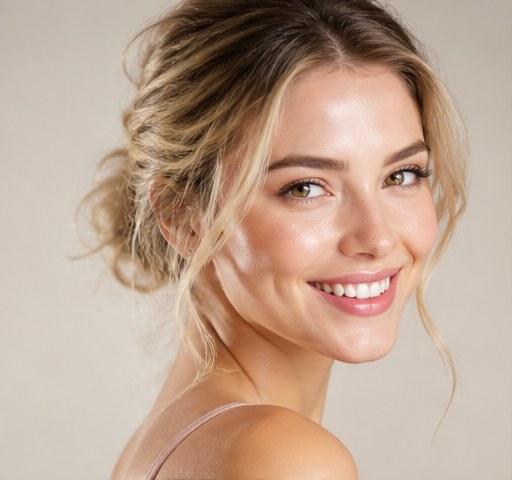
Highlighter works by bouncing light off the highest points of your face, the same places that naturally shine in good lighting. Knowing your bone structure helps you place it where it lifts rather than widens. The goal is dimension and freshness, not a disco-ball shine. Try a glow-up look on your selfie to see which features come forward when light is added.
The Five Core Placement Zones
The classic spots are the tops of the cheekbones, the brow bone just under the arch, the inner corners of the eyes, the bridge of the nose, and the cupid's bow. Together these draw the eye upward and outward for a lifted, awake look. You don't always need all five; choose based on the effect you want. A little on the high cheekbone alone reads expensive and subtle.
Match Finish to Your Skin
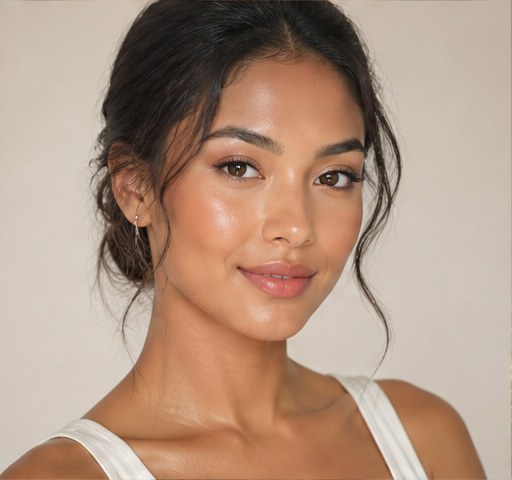
Liquid and cream highlighters melt into dry and mature skin for a wet, glazed glow, while finely milled powders suit oily skin and last longer. Avoid chunky glitter, which settles into texture and pores. The shade matters too: champagne flatters fair skin, gold suits medium and tan, and rich bronze or rose-gold sings on deep skin. The right tone looks like lit skin, not frosting.
Apply With the Right Tool
Tap liquid and cream formulas with a fingertip or damp sponge so warmth helps them sink in seamlessly. For powder, a small fan or tapered brush gives precise, buildable control. Always tap off excess and build gradually. Blend the edges so the glow fades into skin with no visible line.
Sculpt by Pairing Glow With Shadow
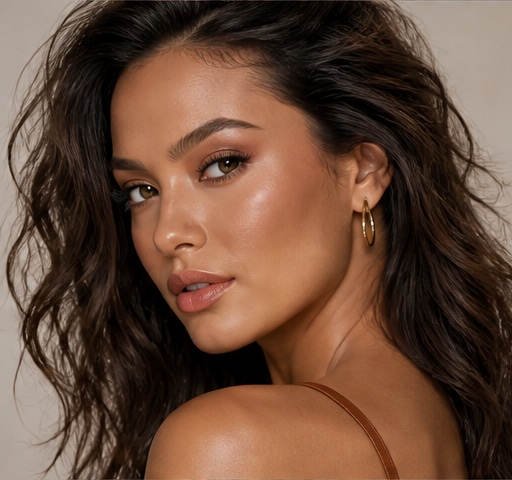
Highlighter looks most three-dimensional when balanced against a soft bronzer or contour in the hollows. Light on the high points plus shadow in the low points creates the illusion of sculpted bone structure. Keep the transition between them soft. This contrast is what makes the same highlighter look chic in person and stunning on camera.
Avoid the Common Mistakes
Too much product, placing it too low on the cheek, or choosing a too-glittery formula are the usual culprits behind an unnatural shine. Highlighting over visible texture exaggerates pores, so prep skin smooth first. Keep glow off the very center of the cheek where it can look greasy. When in doubt, less product placed higher always looks more elegant.
Adjust for Photos and Different Light
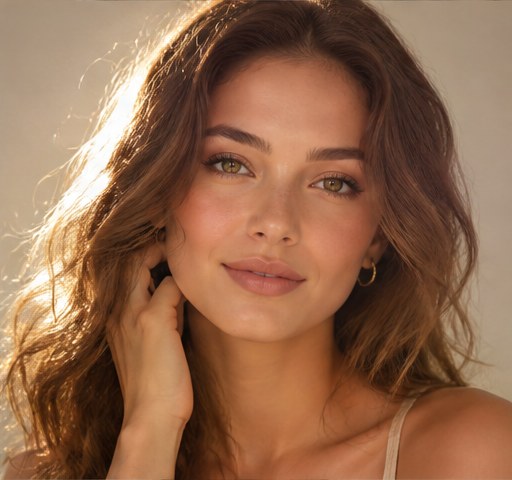
Highlighter that looks subtle in person can flash bright in photos, especially with flash. For flash photography, go lighter and choose a satin rather than metallic finish. For golden-hour or natural light, you can layer more for a luminous effect. Preview both a soft and a bold glow on your selfie so you know how each reads.
The quick checklist
- Place glow on cheekbones, brow bone and inner corners
- Match shade to your skin tone and depth
- Tap creams in; brush powders precisely
- Pair highlight with bronzer for dimension
- Keep glow off the cheek's greasy center
- Go lighter and satin for flash photos
✦ Free to start✨ Try these looks on your own selfie with GlowMaxing →Upload one selfie and try any hairstyle, color or makeup look instantly with AI. Free to start.Download on theApp Store