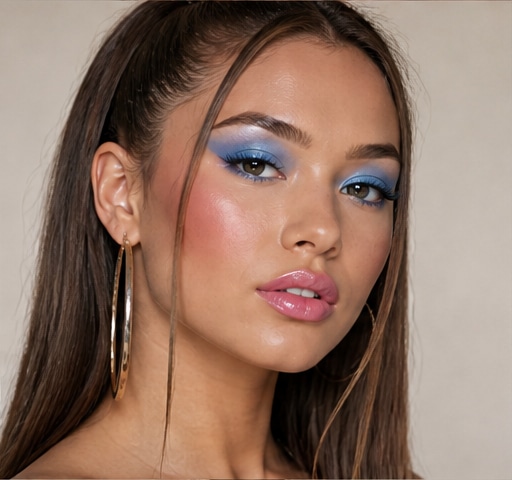
 Try this styleon your selfie · free
How to Apply Concealer to Hide Dark Circles
Published July 7, 2026
Color theory, the right placement, and a setting trick that keeps under-eyes bright and crease-free all day.
Understand Why Your Circles Look the Way They Do
Not all dark circles are the same, and treating them all with skin-tone concealer is why coverage often looks gray or ashy. Bluish or purple circles, common from thin under-eye skin and visible veins, need a peach or salmon corrector underneath to cancel the cool tone. Brownish circles, more common in deeper skin tones, respond to an orange or red-orange corrector. Hollow, shadowed under-eyes are about light, not pigment, so a brightening concealer one to two shades lighter than your skin does the lifting. Identify which type you have by looking in natural light, then choose your products accordingly. Getting the color correction right means you need far less concealer on top, which is the real secret to a result that looks like bright skin rather than a heavy, cakey mask.
Prep the Under-Eye First
Concealer creases when it has nothing smooth to grip, so prep matters as much as application. Start with a lightweight eye cream and let it absorb for a few minutes, then gently blot any excess, because too much product underneath makes concealer slide and gather in lines. If your under-eyes are puffy, a few seconds with a cool tool or chilled spoon de-puffs the area and improves how everything sits. Skip heavy, greasy creams right before makeup; they are the number-one cause of midday creasing. On a tired morning, a hydrating under-eye treatment plus this brief de-puff routine does more than any amount of concealer to make you look rested. Smooth, hydrated, but not slippery skin is the foundation for coverage that lasts all day without breaking down.
Apply in the Right Shape and Place
Forget painting a solid half-moon under the eye. The most flattering, natural placement is a small triangle: dot concealer in the inner corner where darkness is heaviest, draw a short line just under the lash line, and bring a soft point down toward the top of the cheek. This brightens and lifts without depositing product where it will only crease. Use a brightening shade slightly lighter than your foundation for this step, applied over any color corrector you needed. Place small dots rather than a thick swipe, since you can always build more but cannot easily remove excess. Concentrate coverage on the darkest inner third of the eye, where circles are most visible, and keep the outer area lighter so the whole eye looks naturally awake rather than uniformly painted over.
Blend With Warmth and Patience
How you blend decides whether concealer looks seamless or sits in a patch. Use a damp makeup sponge, pressing and bouncing rather than dragging, which would wipe the product off instead of melting it in. A fingertip works too, since its warmth helps the formula meld into skin. Blend the edges outward into your foundation so there is no visible line where coverage ends. Work quickly before the concealer sets, and resist adding more if the first layer covered well. The bounce motion is the key technique here: it diffuses the edges while keeping pigment exactly where you placed it. Want to see how a brighter, well-rested under-eye changes your whole look before perfecting the technique? Preview it on your own selfie with GlowMaxing to know exactly where to focus your coverage.
Set It So It Stays Crease-Free
Setting is non-negotiable under the eyes, where movement and oil cause creasing within hours. Once your concealer is blended, press a small amount of finely milled translucent powder over the area using a small fluffy brush or a damp sponge, focusing on the inner corner and just under the lash line where creasing starts. Use a light hand: too much powder looks dry and accentuates fine lines. The baking method, where you leave a thicker layer of powder to sit for a few minutes before dusting it away, gives extra longevity for events but can be drying for everyday. A quick spritz of setting spray afterward melts any powdery finish back into skin. Done right, this combination keeps your under-eyes bright and smooth from morning through the evening.
Avoid the Most Common Mistakes
A few habits sabotage even good products. Using too much concealer is the biggest, since thick layers always crease and look heavy; less coverage with the right color does more. Choosing a shade too light creates that reverse-raccoon white halo, so stay within one to two shades of your skin. Skipping color correction on stubborn circles means you fight pigment with sheer product that never fully covers. Dragging instead of pressing during blending wipes coverage away. And forgetting to set guarantees creasing by lunch. Finally, harsh, dry concealers emphasize fine lines, so favor a hydrating, flexible formula for the delicate under-eye area. Fix these five things and your under-eye makeup transforms from a daily struggle into a quick, reliable step that genuinely makes you look more awake.
The quick checklist
- Match a peach or orange corrector to your circle's undertone
- Prep with light eye cream and de-puff before concealer
- Apply in a small triangle, concentrating on the inner corner
- Bounce a damp sponge to blend; never drag
- Set lightly with translucent powder where creasing starts
- Stay within one to two shades of your skin tone
- Use a hydrating formula and a thin layer to avoid creasing
✦ Free to start✨ Try these looks on your own selfie with GlowMaxing →Upload one selfie and try any hairstyle, color or makeup look instantly with AI. Free to start.Download on theApp Store