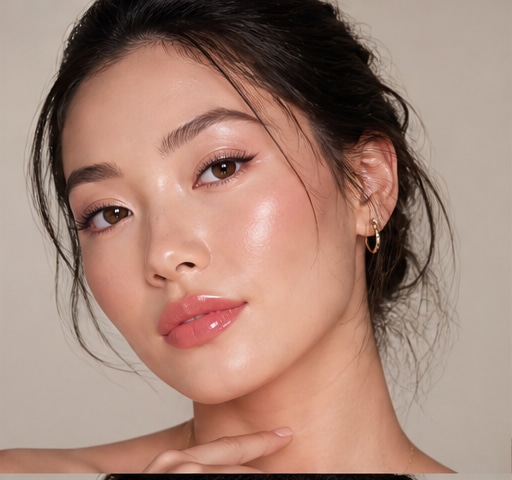
 Try this styleon your selfie · free
How to Cover Dark Circles Without Creasing
Published September 10, 2026
The prep, color-correction, and setting tricks that keep under-eye concealer smooth all day.
Know Your Type of Dark Circle
Covering dark circles starts with knowing what you're dealing with, because the fix differs. Blue or purple circles are caused by visible blood vessels under thin skin and respond best to peach or salmon color correctors. Brown or grayish circles are pigmentation and need a slightly more yellow or orange corrector. Puffiness and hollows create shadows that no concealer can color away — those need brightening and strategic placement, not more pigment. Look in natural light and note the dominant tone. Most people reach for concealer alone and pile it on, which is exactly why it creases. Matching a thin layer of the right corrector to your specific circle type means you need far less concealer on top, and less product is the single biggest factor in a smooth, crease-free finish.
Prep the Under-Eye First
Creasing almost always comes down to skipping prep. The under-eye skin is thin and dry, and concealer applied over dry or flaky skin clings and settles into fine lines within hours. Start by gently patting on a lightweight, fast-absorbing eye cream and giving it three to five minutes to sink in fully — if the area still feels slick, you applied too much and concealer will slide. For very oily or crease-prone lids, a tiny amount of eye primer creates grip. Depuff first if you're puffy: a cold spoon, a chilled roller, or a caffeine eye product reduces the shadow you're trying to cover. Well-hydrated but not greasy skin is the foundation. No technique downstream can fully save concealer applied over parched, unprepped under-eyes.
Color-Correct Before You Conceal
Color correction is the step most people skip, and it's the secret to using less concealer. If your circles are blue or purple, tap a tiny amount of a peach or salmon corrector onto the darkest area — usually the inner corner — and blend with a fingertip or small brush. For brown pigmentation, use a more orange-toned corrector on deeper skin or a peach on lighter skin. The key word is tiny; you're neutralizing the color, not building coverage, so a sheer veil is plenty. Press it in rather than wiping it across. Once the darkness is canceled, your regular concealer only has to even out the tone, which means a thin layer does the job. Skipping this step forces you to use thick concealer that inevitably cracks and creases by midday.
Apply Concealer the Right Way
Now the concealer — and how you apply it matters as much as the product. Choose a hydrating, medium-coverage concealer one shade lighter than your foundation for brightness, but not so light it looks gray. Place a few small dots in an upside-down triangle under the eye, with the base along the lash line and the point toward the cheek, rather than smearing it everywhere. Blend with a damp sponge or a clean fingertip using gentle pressing and bouncing motions, never dragging, which moves product into creases. Less is genuinely more here: build only if you need to, in thin layers. Concentrate coverage on the inner corner where darkness is deepest and feather it out toward the edges so it melts into your foundation seamlessly with no harsh line.
Set It So It Stays
Setting locks everything in, and the technique prevents the dreaded midday crease. Once your concealer is blended, take a small fluffy brush or a damp sponge and press — not sweep — a thin layer of finely milled translucent or skin-tone powder over the area. Pressing deposits powder without disturbing the concealer underneath. For crease-prone eyes, try lightly baking: leave a slightly heavier layer of powder for two to three minutes to let your body heat set the concealer, then dust off the excess with a clean brush. Don't overload the powder, though — too much under the eyes looks dry and cakey and actually emphasizes fine lines. A final light mist of setting spray melds the powder and concealer into one flexible layer that moves with your skin instead of cracking.
Troubleshooting and Touch-Ups
Even a perfect application can need a fix. If you still crease after a few hours, you're likely using too much product or too much powder — scale both back tomorrow. To touch up midday, never add more concealer on top of creased product; instead, press a damp sponge or clean finger over the area to smooth it, then add the tiniest bit of fresh concealer only if needed and re-press a whisper of powder. If your under-eyes look dry and crepey, dial back the powder and add a hydrating eye product to your prep. Want to test a brighter under-eye before an event? You can preview the effect on your own selfie with GlowMaxing. The throughline of crease-free under-eyes is restraint: prep well, correct first, conceal thin, set light.
The quick checklist
- Use peach correctors for blue circles, orange-toned for brown pigmentation
- Prep with a fast-absorbing eye cream and let it fully sink in
- Color-correct with a tiny veil before concealing to use less product
- Apply concealer in an upside-down triangle and press, never drag
- Choose a hydrating concealer one shade lighter for brightness
- Set by pressing a thin layer of finely milled powder — don't sweep
- Touch up by smoothing creases first, never adding product on top
✦ Free to start✨ Try these looks on your own selfie with GlowMaxing →Upload one selfie and try any hairstyle, color or makeup look instantly with AI. Free to start.Download on theApp Store