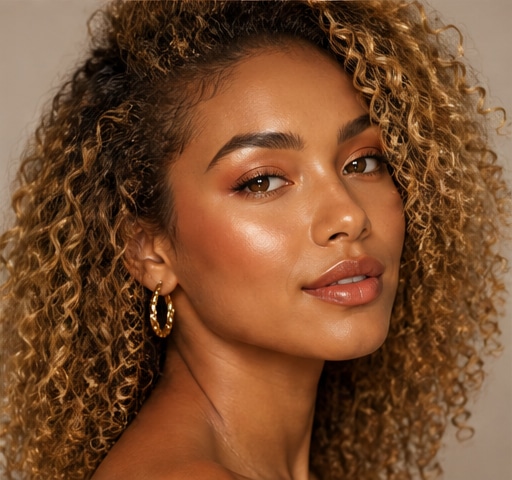
 Try this styleon your selfie · free
How to Create Hollywood Glam Waves with a Curling Iron
Published July 22, 2026
Old-Hollywood waves are all in the brush-out — curl every section the same direction, then break it into one glossy, uniform S.
What Makes a Wave Hollywood Glam
Hollywood glam waves are not the same as beachy waves or modern bends. They're a uniform, sculpted, glossy S-pattern that ripples in the same direction across your whole head — think red-carpet, vintage screen-siren polish. The defining features are uniformity and shine: every wave is the same size, the same depth, and points the same way, with a mirror-like finish and no frizz. Achieving that look hinges on two non-negotiables: curling every single section in the identical direction, and brushing the curls out after they cool to blend them into smooth, continuous waves rather than separated ringlets. If you've tried glam waves and ended up with random spirals, the missing piece was almost always the directional consistency and the brush-out. Master those and you get that liquid, sculpted ribbon of waves that reads expensive and timeless every time.
Prep for Shine and Hold
Glam waves demand smooth, healthy-looking hair as the canvas, so prep is everything. Start on dry, straight hair — if yours is wavy or frizzy, blow it out smooth first so the curl pattern reads clean. Apply a heat protectant throughout to guard the cuticle and keep hair glossy under high heat. A light mist of flexible hairspray on each section before curling gives the wave something to hold onto and dramatically improves longevity, especially on fine or slippery hair. Avoid anything heavy or oily before curling, which dulls the finish and loosens curls. The shine that defines this look comes from a smooth, sealed cuticle, so the smoother your starting hair, the more luminous the final waves. Comb everything tangle-free before you pick up the iron, because snags interrupt the clean S-shape you're building.
The Directional Curling Technique
This is the heart of the look. Use a one-to-one-and-a-quarter-inch curling iron, ideally a clipless wand or a marcel-style iron for tighter control. Section your hair and clip away everything but the bottom layer. Take one-to-two-inch sections and curl every single one away from your face — same direction on both sides of your head and all the way around. Wrap the hair around the barrel without the ends sticking out, hold for eight to ten seconds, and release. Consistency in section size, direction, and timing is what creates uniform waves; varying any of those breaks the pattern. As you release each curl, gently catch it in your palm and pin it coiled against your head with a clip to cool in shape — this sets a much crisper, longer-lasting wave than letting it drop while warm.
Cool, Then Brush It Out
Patience here is what separates ringlets from glam waves. Once every section is curled and pinned, let your hair cool completely — at least ten minutes — so the bonds set in their new shape. Then unpin everything and, with a soft natural-bristle brush or a wide paddle brush, brush firmly from roots through ends. It feels alarming, like you're brushing the curl out entirely, but you're actually blending the individual curls into one continuous, smooth wave pattern. Brush until the separate spirals melt into glossy, uniform S-bends. If the waves drop too much, you brushed a touch too hard; next time use fewer strokes. This brush-out is the single most overlooked step and the exact reason salon glam waves look so seamless compared to home attempts that skip it.
Sculpt and Set the Finish
After brushing, shape the waves so the S-pattern aligns down your head. Use your fingers or the tail of a comb to nudge the ridges into alignment, and clip the waves in place with flat duckbill clips along the crests for a few minutes to crisp them up — a classic finger-wave trick. For extra polish, run a flat iron very lightly down the lengths between the waves to smooth any frizz without flattening the shape. Finish with a shine spray or a single drop of oil smoothed over the surface for that liquid gleam, then lock everything with a flexible-hold hairspray. Mist, don't drench, or the waves stiffen. Before a big event, preview the wave placement and volume on your selfie with GlowMaxing to confirm it flatters your face shape and outfit neckline.
Make Them Last All Night
Glam waves are an event look, so build them to survive hours of photos and dancing. Hold is layered: hairspray before curling, the cool-and-set pinning, and a final flexible-hold mist all stack up. Fine hair benefits most from the pre-curl spray and from curling slightly smaller sections, since they hold longer. If a wave loosens during the night, a quick re-curl of just that section and a touch of spray revives it. Avoid running your fingers through the waves, which separates and frizzes them. To preserve them overnight for a second day, pin the waves up loosely or sleep on a silk pillowcase. Stored well, glam waves can soften beautifully into next-day waves with just a refresh of dry shampoo at the roots and a light shine spray over the top.
The quick checklist
- Start on smooth, blown-out dry hair for a glossy, frizz-free finish
- Mist flexible hairspray on each section before curling for longer hold
- Curl every section away from your face in the same direction
- Pin each warm curl coiled against your head to cool and set
- Let hair cool ten full minutes before touching it
- Brush firmly with a natural-bristle brush to blend curls into smooth waves
- Clip the wave crests with duckbill clips to crisp the S-pattern
- Finish with a drop of oil for shine and a light flexible-hold spray
✦ Free to start✨ Try these looks on your own selfie with GlowMaxing →Upload one selfie and try any hairstyle, color or makeup look instantly with AI. Free to start.Download on theApp Store