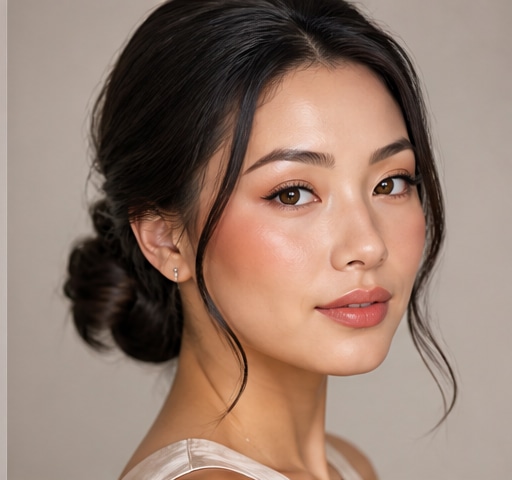
 Try this styleon your selfie · free
How to Do a Crown Braid for a Romantic Boho Look
Published August 5, 2026
That ethereal halo braid wrapping the head is far easier than it looks — here's the step-by-step for dreamy, undone boho results.
What a Crown Braid Is and Who It Suits
A crown braid is a single (or sometimes double) braid that wraps around the head like a halo, creating that romantic, fairy-tale, boho-goddess effect. There are two main approaches: a Dutch or French braid worked around the perimeter for a flat, seamless crown, or two simpler braids pinned across the top — the easy 'milkmaid' version. It suits almost everyone and is especially magical for weddings, festivals, and outdoor events. It works best on hair that's at least shoulder-length, and it's most flattering on medium to thick hair because there's enough to create a full, substantial braid. Fine-haired folks can absolutely wear it too — they'll just want to add texture and pancake the braid wider for fullness. It's also a brilliant way to get hair off your face elegantly.
Prep: The Texture That Makes It Hold
Like most braided styles, a crown braid behaves best on day-old or textured hair rather than freshly washed, slippery strands. If your hair is clean, mist a texturizing or dry-shampoo spray through the lengths and roots to add grip — this is what stops the braid from sliding loose and gives that soft, lived-in boho finish. For extra romance and ease of braiding, run a 1-inch curling iron through your hair first in loose waves; the bend gives the braid built-in texture and makes the pancaking step look fuller. Detangle thoroughly so the braid lies smooth, then part your hair where you want the braid to sit — usually with a deep side or center part. Have plenty of bobby pins and a clear or matching elastic within reach before you start.
The Easy Two-Braid Milkmaid Method
If you're a braiding beginner, start here. Part your hair down the center into two equal sections and tie each into a simple three-strand braid, securing the ends with small elastics. Then take the right braid, lift it up and over the top of your head, and pin it in place along your hairline with bobby pins, tucking the end behind your left ear. Bring the left braid up and over in the opposite direction, crossing the back, and pin it so the end tucks behind your right ear, hiding both tails. Adjust until the two braids meet and form a continuous crown. This milkmaid technique gives you the full halo effect with zero advanced skill — it's the most reliable route to a boho crown on your first try.
The Seamless Dutch Crown Method
For a flatter, more woven 'all-one-braid' halo, use the Dutch technique. Starting just above one ear, take a section and begin a Dutch braid (crossing strands underneath rather than over, so the braid sits raised on the surface), feeding in new hair only from the outer, hairline side as you work around the head. Follow the curve of your skull, keeping the braid close to the perimeter, and continue picking up hair all the way around until you return to where you began. Braid the leftover tail as a plain three-strand braid, then tuck and pin it underneath the starting point so the join disappears. This takes practice — braiding around your own head in a circle is the tricky part — but it creates the most polished, seamless crown.
Make It Look Romantic, Not Rigid
The single most important step for a boho feel is pancaking: once your braid is pinned, gently tug outward on the edges of each braid 'rung' to widen and loosen it. This transforms a tight, schoolgirl plait into a soft, full, romantic halo. Pull out a few face-framing tendrils at the temples and nape and give them a loose curl so they fall softly around your face. The look should feel airy and a little undone, never severe. For full boho-goddess effect, tuck in small flowers like baby's-breath, tiny pearl pins, or delicate sprigs along the braid. Mist with a light-hold hairspray before adding florals so nothing slips. The beauty of this style is that imperfection is the point — wisps and softness make it.
Securing, Finishing, and Previewing
Lock everything down with bobby pins matched to your hair color, crossing two in an X wherever the braid needs to stay flat against the head, and tuck all tails out of sight. Do a gentle shake-and-check in a hand mirror to find any loose loops, then mist a flexible-hold spray over the whole crown. Keep a few spare pins with you, since a crown braid worn all day at a wedding or festival may need a quick re-anchor. If you want to see whether a crown braid genuinely suits your face shape and hair length before spending twenty minutes on it, preview the look on a selfie with GlowMaxing first. It's an easy way to confirm the halo placement flatters you before you commit your arms to braiding overhead.
The quick checklist
- Work on day-old or texturized hair so the braid grips and holds
- Curl hair loosely first for built-in texture and fuller pancaking
- Beginners: braid two sides and pin them over for the easy milkmaid version
- Confident braiders: Dutch braid around the perimeter for a seamless halo
- Pancake every braid by tugging the edges wider for a soft boho look
- Leave wispy tendrils loose at the temples and nape
- Tuck in baby's-breath or pearl pins and set with light-hold spray
✦ Free to start✨ Try these looks on your own selfie with GlowMaxing →Upload one selfie and try any hairstyle, color or makeup look instantly with AI. Free to start.Download on theApp Store