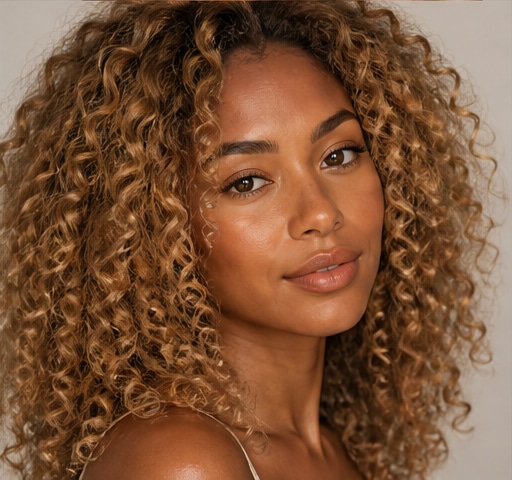
 Try this styleon your selfie · free
How to Do a Fishtail Braid That Actually Stays Put
Published July 16, 2026
The trick to a fishtail that lasts all day isn't tension — it's prep, small sections, and a sneaky secure-the-top move.
Prep Hair So It Actually Grips
A fishtail braid slides apart on freshly washed, silky hair because there's nothing for the strands to cling to. The fix is texture. If your hair is clean, work a pea-sized amount of texturizing paste or a light dry shampoo through the lengths and scrunch. Second-day hair is genuinely ideal here. If your hair is fine or slippery, mist a flexible-hold hairspray about eight inches away before you start, then brush it through so the whole head is lightly tacky, not crunchy. Skip heavy oils and rich conditioners on styling day — they make every strand glide right out of the braid. The goal is hair that feels grippy between your fingers. That single change does more for longevity than any fancy technique, and it takes thirty seconds.
The Two-Strand Technique, Step by Step
A fishtail is deceptively simple: it's only two sections, not three. Split your ponytail or loose hair into a left half and a right half. Take a small piece (about a quarter inch) from the outer edge of the left section, cross it over, and add it to the inner edge of the right section. Now do the mirror image: grab a small piece from the outer edge of the right, cross it to the inner left. Keep alternating, always pulling from the outside in. The smaller your crossover pieces, the tighter and more intricate the woven V-pattern looks. Pull each piece snug toward your scalp as you go, not out to the side, so the braid stays dense and doesn't gap.
Anchor the Top So It Doesn't Loosen
Most fishtails fail at the crown, not the tail. The simplest insurance is to start from a low ponytail secured with a clear elastic, braid the ponytail, then once you're done, gently tug the elastic down and tuck a small section of hair over it to hide it. For a braid that starts higher and looks elastic-free, do a tiny topsy-tail: secure a half-inch of hair at the crown, split it, and flip the tail up through the gap before you begin weaving. That hidden anchor takes all the downward stress off your fingers. Without it, every head-turn loosens the top a little more until the whole thing sags by lunchtime.
Lock It In and Add the Lived-In Look
Finish the tail with a clear elastic wrapped three or four times so it disappears. Now comes the part that makes it Pinterest-worthy: pancaking. Hold the elastic firmly with one hand and gently pull outward on the little V-shaped loops along the braid with the other, working from bottom to top. This widens and flattens the braid into that soft, full, slightly undone shape everyone screenshots. Don't over-pull or you'll expose the weave and it'll look messy. Mist a final light layer of hairspray and lightly press the braid flat with your palms to set it. Before committing to a braided look for an event, it's worth previewing it on your own selfie in GlowMaxing to see how the shape suits your face.
Variations Worth Trying
Once the basic braid clicks, the same two-strand move scales endlessly. A side fishtail draped over one shoulder reads romantic and is the easiest to film yourself doing. A Dutch fishtail — where you add new hair from the scalp into each outer piece as you go down, like a French braid — keeps the whole thing flat against your head and is the most secure version for workouts or windy days. For a half-up, gather only the top third of your hair, fishtail just that section, and let the rest fall loose. Each variation uses the identical crossover; only the starting setup changes, so nailing the core technique unlocks all of them.
Match the Braid to Your Hair Type
Fishtails suit medium to long hair best — anything past the collarbone gives you enough length to show the woven pattern. Fine hair benefits from the texturizing prep above and looks fuller after pancaking. Thick or curly hair holds a fishtail beautifully and rarely needs hairspray, though a smoothing cream tames frizz so the weave stays visible. If your hair is layered or has shorter face-framing pieces, expect a few flyaways near the front; pin them or embrace them as soft tendrils. Very short hair below the shoulders is tough — you'll run out of length before the pattern develops. In that case, fishtail a small accent section instead of the whole head for a subtle detail.
The quick checklist
- Use second-day or lightly texturized hair so strands grip instead of slip
- Keep your crossover pieces small — quarter-inch max — for a tight, intricate weave
- Anchor the top with a hidden elastic or topsy-tail to stop crown sag
- Pull each piece toward your scalp, not out to the side, as you braid
- Pancake the V-loops from bottom to top for that full, undone shape
- Finish with a clear elastic wrapped three to four times so it disappears
- Mist flexible-hold hairspray eight inches away — tacky, never crunchy
- Tame face-framing flyaways with a touch of paste or leave them as tendrils
✦ Free to start✨ Try these looks on your own selfie with GlowMaxing →Upload one selfie and try any hairstyle, color or makeup look instantly with AI. Free to start.Download on theApp Store