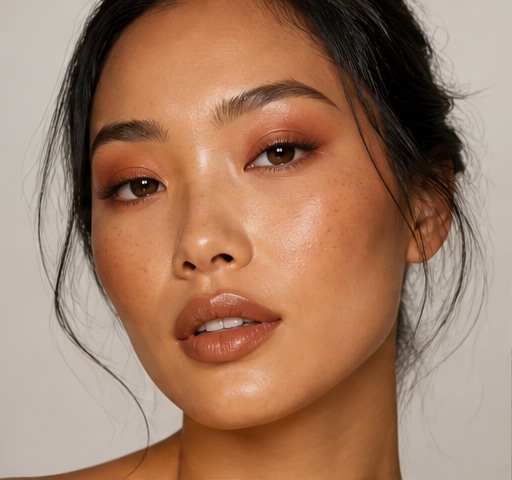
 Try this styleon your selfie · free
How to Get Money Piece Highlights at Home
Published July 8, 2026
The money piece is the easiest face-framing highlight to DIY, here's how to get that bright, expensive-looking pop around your face.
What a Money Piece Actually Is
The money piece is a chunky, bright highlight placed on the front sections of hair that frame your face, the strands that fall on either side of your part. It got its name because it looks expensive and high-impact for relatively little work, brightening and lifting your whole face the way a contour or a great pair of earrings does. Unlike all-over highlights that require painting your entire head, the money piece is concentrated in just two front sections, which makes it genuinely doable at home. It draws light up toward your eyes and cheekbones and frames your features instantly. You can go subtle, just a few shades lighter for a soft glow, or bold and high-contrast for that face-framing pop. Because it's so localized, it's also low-commitment and grows out gracefully.
Decide How Bold You Want to Go
Before mixing anything, decide on contrast, because it completely changes the vibe. A soft money piece, just one or two levels lighter than your base, gives a sun-kissed, blended look that reads natural and works on anyone. A bold money piece, several levels lighter for high contrast, like platinum framing dark hair, makes a dramatic statement and is the version that goes viral. Consider your starting color too: if you're dark, reaching a bright money piece will require real lifting and possibly more than one session, while lighter bases get there quickly. Think about width as well, a thin face-framing piece is delicate, while a chunky two-inch section is bold and editorial. It helps enormously to preview the placement and brightness on your own face in GlowMaxing before you commit, so you can see exactly how light and how wide flatters you.
Gather Your Kit and Prep
You'll need a lightening or highlighting kit appropriate to how light you're going, regular box dye won't lift hair lighter. Choose 20 volume developer for a safe, gradual lift; higher volumes lift faster but damage more. Grab a tint brush, a mixing bowl, gloves, sectioning clips, foil or plastic wrap to hold the lightener and trap warmth, and a toner or purple shampoo for afterward. A bond-building additive minimizes breakage and is worth including. Start with dry, unwashed hair so your natural oils protect your scalp. Part your hair exactly where you wear it daily, since the money piece follows your part. Drape an old towel, set up good lighting and a mirror, and mix the lightener fresh right before you apply it for predictable, even results.
Section and Apply the Front Pieces
Identify the two front sections that frame your face, on either side of your part, roughly from your part down to about your cheekbone or chin depending on how much you want highlighted. Clip the rest of your hair completely out of the way so you don't accidentally lighten it. Take one front section, separate the exact width you want highlighted, and lay it on a piece of foil. Apply the lightener with your brush from just below the root down to the ends, saturating evenly, keeping it slightly off the very scalp at first since roots lift fastest. For a softer, blended look, feather the lightener lighter near the top; for a bold chunk, saturate fully and evenly. Fold the foil to enclose it, then repeat identically on the other side so both pieces match in width and placement.
Process, Watch, and Rinse
Set a timer but rely on your eyes, not the clock alone. Lightener keeps developing, so check a piece every ten minutes by opening the foil and wiping a strand to see its true level. Stop when you reach a pale yellow if you plan to tone, since toner will cool it down, and never exceed your developer's maximum processing time, usually around 45 minutes. If your hair is dark and only reaches orange, that's normal, you can lift again in a future session rather than risk damage now. Make sure both sides reach the same level for symmetry. When you hit your target, rinse the lightener out thoroughly with cool water and a gentle shampoo until the water runs clear, then gently towel-dry to assess the brightness in natural daylight.
Tone, Maintain, and Style
Freshly lifted money pieces almost always look brassy, so toning is what makes them look salon-fresh. Apply a toner or purple shampoo, purple neutralizes yellow, blue neutralizes orange, leaving it on only as directed to avoid over-toning. Follow with a deep-conditioning mask, since the lightened pieces need moisture back. For upkeep, use purple shampoo weekly to keep the brightness from going brassy, wash with sulfate-free color-safe shampoo, and roots on the money piece will need a touch-up every few weeks since it's right at your face and highly visible. Style your part to show off the brightness, sweeping the lighter pieces forward frames your face beautifully. Because the money piece is so localized, maintenance is far lighter than a full head of highlights, which is exactly why it's the smartest high-impact color to do at home.
The quick checklist
- Decide on contrast first: soft and blended versus bold and high-contrast
- Use a lightening kit with 20 volume developer, not regular box dye
- Part your hair where you normally wear it and isolate only the two front sections
- Match the width and placement on both sides for a symmetrical result
- Watch development every 10 minutes and stop at pale yellow before toning
- Tone with purple for yellow or blue for orange, then deep condition
- Touch up the visible roots every few weeks and use purple shampoo weekly
✦ Free to start✨ Try these looks on your own selfie with GlowMaxing →Upload one selfie and try any hairstyle, color or makeup look instantly with AI. Free to start.Download on theApp Store