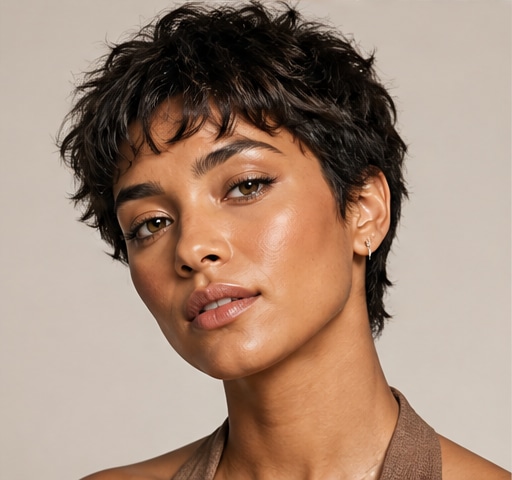
 Try this styleon your selfie · free
How to Pin Curl Short Hair for Vintage Waves
Published September 5, 2026
Pin curls give short hair soft, finger-wave-style vintage texture with no heat—here's the technique that actually sets.
Why Pin Curls Work on Short Hair
Pin curls are a 1920s-to-1950s technique that's perfect for short hair because they create soft, sculpted vintage waves without needing length to wrap around a barrel. You coil small sections of hair flat against your head, pin them, let them set, and brush out into glossy S-waves. Short hair (bobs, pixies with length, chin-length cuts) actually sets faster and holds better than long hair because the curls are lighter and dry quicker. It's a no-heat method, so it's gentle on your strands and ideal for damaged or color-treated hair. The vintage look it produces—think old-Hollywood finger waves and soft retro curls—is having a major moment. All you need are sectioning clips, a fine-tooth comb, plenty of bobby pins or duckbill clips, and a setting product.
Prepping Your Hair
Pin curls set best on damp, not soaking, hair—towel-dry until it's about 70% dry, because too-wet hair takes forever to dry pinned and too-dry hair won't hold the shape. Work a setting lotion, mousse, or even a strong-hold gel through your hair; this is what locks the curl as it dries, so don't skip it. Comb the product through evenly so every section is coated. Decide your part now—a deep side part screams vintage glamour. If your hair is freshly washed and slippery, a little texture spray helps the pins grip. Have your tools ready before you start: a tail comb for clean sections, a stack of bobby pins or metal duckbill clips, and sectioning clips to keep unworked hair out of the way. Patience here pays off in the final wave.
The Flat Pin Curl Technique
Take a small section, about an inch wide—smaller sections give tighter, more defined waves. Comb it smooth, then wind it from the ends up toward the scalp into a flat coil that sits against your head like a little snail shell. Hold the coil flat and slide a bobby pin (or cross two in an X) through it to pin it down without crushing the round shape. The direction you wind matters: to create classic alternating waves, wind each row in the opposite direction to the row above it. Keep the coils flat against the scalp—standing curls give volume but flat pin curls give that smooth, sculpted vintage wave. Work in neat rows across your whole head, keeping section size consistent so the finished waves are even.
Setting, Drying, and the Big Reveal
Once every section is pinned, let it set completely—this is the step people rush and regret. Air-drying takes 3 to 6 hours depending on hair thickness, or you can speed it up under a hooded dryer or with a blow-dryer on low if you're impatient (always cool fully before unpinning). The cardinal rule: do not remove the pins until your hair is 100% bone dry, because any dampness means the curl won't hold and you've wasted the set. Many people pin-curl at night and sleep in a satin scarf, unpinning in the morning. Want to see whether soft retro waves or a sleeker vintage finish suits your face before you commit hours to setting? Preview the look on a selfie with GlowMaxing first, then decide your wind pattern.
Brushing Out the Waves
This is the step that transforms a head of tight coils into glamorous waves, and technique is everything. Remove all the pins gently. Resist the urge to use your fingers—instead, brush through the curls thoroughly with a soft bristle brush, then brush again. The first brush-out looks frizzy and alarming; keep going, because the second and third passes blend the individual curls into smooth, continuous S-waves. Use your palms and fingers to press and shape the waves into the ridges you want, mimicking finger-wave placement. A boar-bristle brush gives the smoothest, shiniest result. If you want the sculpted finger-wave look, mold the ridges with a fine comb and pin them temporarily while you spray. Finish with a flexible hairspray and a touch of shine serum.
Making the Set Last and Troubleshooting
A proper pin-curl set, brushed out and sprayed, can hold beautifully for a full day or even two on short hair. To extend it, sleep in a satin bonnet and re-mist lightly in the morning. Common problems and fixes: if your curls dropped, your hair was too wet when you unpinned, or you used too little setting product—use more lotion and dry longer next time. If the waves are too tight or ringlet-y, your sections were too small or you wound too high up the scalp; go bigger and brush out more aggressively. If they're too loose, sections were too big. Frizz usually means over-brushing or dry weather—a smoothing serum and a lighter hand on the brush solve it. Pin curling rewards practice; your third attempt will look noticeably better than your first.
The quick checklist
- Set on 70% damp hair coated with setting lotion or mousse
- Wind 1-inch sections flat against the scalp like little snail shells
- Alternate winding direction row by row for classic waves
- Never unpin until hair is 100% bone dry or the curl drops
- Brush out fully with a boar-bristle brush—two or three passes
- Mold the wave ridges with your palms and a fine comb
- Sleep in a satin bonnet to make the set last a second day
✦ Free to start✨ Try these looks on your own selfie with GlowMaxing →Upload one selfie and try any hairstyle, color or makeup look instantly with AI. Free to start.Download on theApp Store