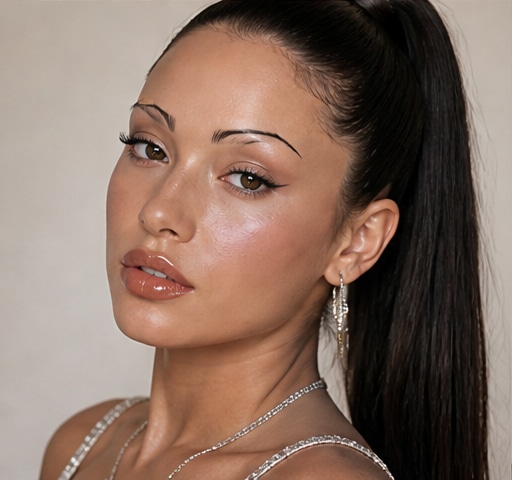
 Try this styleon your selfie · free
Liquid vs Pencil vs Gel Eyeliner: Which to Use
Published July 9, 2026
A clear-eyed breakdown of the three eyeliner types so you reach for the right one every time.
Liquid Liner: Sharp, Bold, and Precise
Liquid liner is the go-to for crisp lines and dramatic wings. It comes in a pot with a brush or, more beginner-friendly, a felt-tip pen, and it dries down to a high-impact, often glossy or matte black that won't budge once set. Use it when you want a defined cat-eye, a graphic line, or a clean line right along the upper lash line. It demands a steady hand, since mistakes are harder to blend away once dry, but the payoff is the sharpest, most striking result of any formula. Pen versions offer the most control for newcomers. Liquid is not ideal for smoky, smudged looks or for tightlining the waterline, where it can run. Reach for it whenever precision and intensity are the goal.
Pencil Liner: Easy, Versatile, and Smudgeable
Pencil is the most forgiving and versatile of the three, perfect for beginners and for soft, smoky looks. It glides on with control, can be smudged with a brush or fingertip before it sets for a diffused effect, and is the only formula safe and comfortable for the waterline. Kohl and gel-pencil versions are creamy and blendable; harder pencils give more precision but less smudge. The trade-off is longevity: standard pencils can transfer or fade faster than liquid or gel, though waterproof versions hold up well. Use pencil when you want a natural everyday line, a smudged smoky eye, or to line the waterline for added intensity. It's also the easiest to correct, simply blend or wipe away a mistake before setting it with a matching powder shadow.
Gel Liner: The Best of Both Worlds
Gel liner, usually sold in a small pot and applied with an angled brush, sits between liquid and pencil. It delivers the intense, long-wearing payoff of liquid with the blendability of pencil, since you have a brief window to smudge or sharpen before it sets into a budge-proof finish. This makes it excellent for both a precise wing and a smoky smudged line, depending on your brush and technique. The main downsides are that it requires a separate brush and a little practice, and the pot can dry out over time if left open. Gel is the makeup-artist favorite for its flexibility and staying power. Want to see whether a sharp gel wing or a soft smudged line suits your eye shape? Preview the look on your own selfie with GlowMaxing before you practice the technique.
Match the Liner to Your Look
Choosing comes down to the effect you want. For a sharp, dramatic wing or a clean graphic line, reach for liquid or gel. For a soft, smoky, lived-in eye, pencil or gel wins because both smudge. For lining the waterline, only pencil is comfortable and safe. For an everyday natural line in under a minute, a pencil or felt-tip pen is fastest. If you want one product that does the most, gel is the most versatile, while a liquid pen is the easiest entry point for crisp lines. Consider your routine too: if you rarely have time, a pen pencil hybrid keeps things simple, whereas a gel pot rewards those willing to use a brush for maximum flexibility and control over the final shape.
Match the Liner to Your Eye Shape
Your eye shape affects which liner flatters most. Hooded eyes, where the lid is partly hidden, do best with a thin liquid or gel line that stays close to the lashes and a wing drawn with the eyes open so it sits above the fold; thick smudgy pencil can close these eyes up. Round eyes elongate beautifully with a winged liquid or gel line extended outward. Almond eyes, the most adaptable, suit any formula. Downturned eyes lift with a wing angled upward at the outer corner, best achieved with liquid or gel for control. Smaller eyes look larger when you line only the outer third and tightline the upper waterline with pencil rather than ringing the whole eye. Knowing your shape tells you both the formula and the placement that opens up your eyes.
Tips for a Cleaner Line With Any Formula
A few universal habits sharpen results regardless of type. Steady your elbow on a table and look down into a mirror for the most control. Build a wing in small connected dashes rather than one nervous stroke, then fill the gaps. Use small pieces of tape or a card as a guide for a clean wing angle if freehand feels hard. Set liquid and pencil with a matching powder shadow pressed on top to lock it in and prevent transfer, especially on oily lids or hooded eyes. Clean up mistakes with a cotton swab dipped in a little makeup remover for crisp edges. Finally, prime the lid first so any liner grips and lasts. These tricks make even an inexpensive liner perform like a professional one.
The quick checklist
- Pick liquid for the sharpest, boldest wings and graphic lines
- Use pencil for smoky looks and the waterline
- Choose gel for versatility and long wear with blendability
- A felt-tip liquid pen is the easiest start for beginners
- Line hooded eyes thin and close, with eyes open
- Set liquid and pencil with matching powder to prevent transfer
- Build wings in small dashes and steady your elbow
✦ Free to start✨ Try these looks on your own selfie with GlowMaxing →Upload one selfie and try any hairstyle, color or makeup look instantly with AI. Free to start.Download on theApp Store