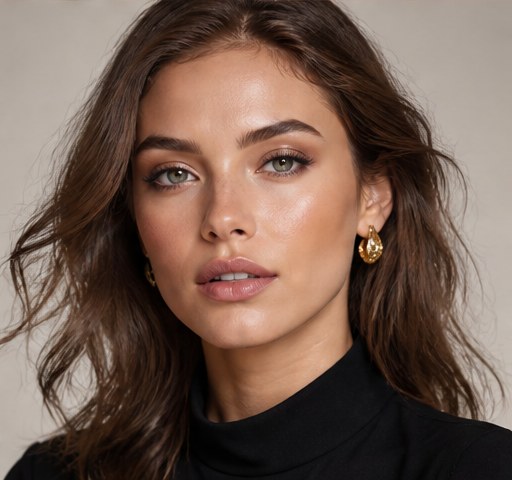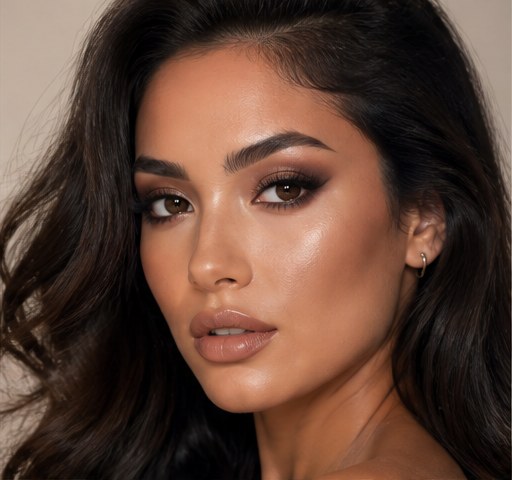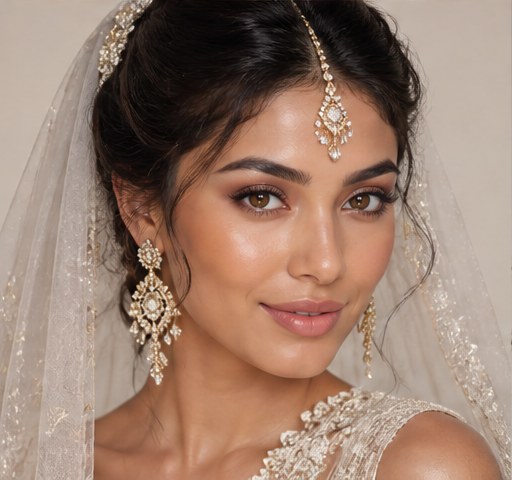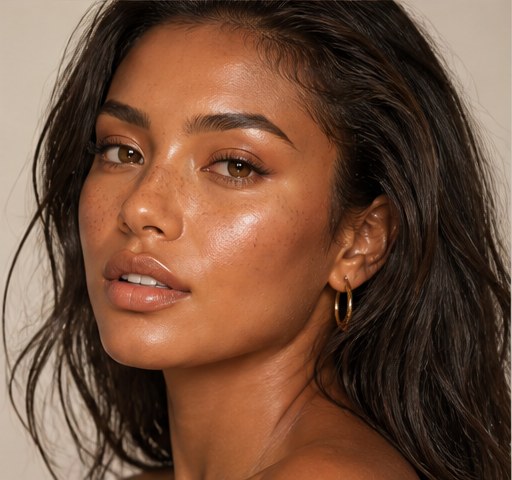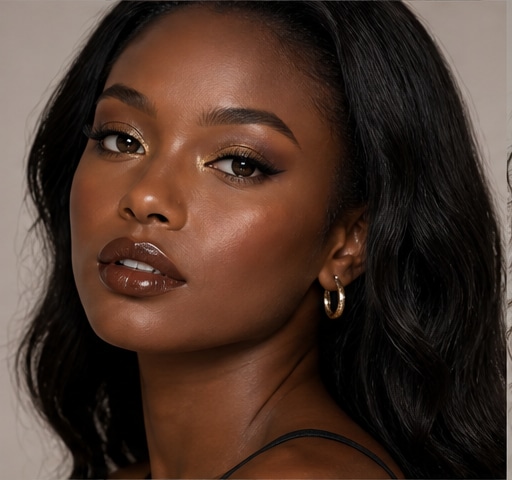
 Try this styleon your selfie · free
Photo-Ready Makeup: Look Great on Camera
Published November 11, 2025
Camera-tested makeup tricks so you look polished and luminous in every photo.
How Cameras Change Your Makeup
Cameras flatten dimension, wash out color, and exaggerate shine and texture, so makeup that looks perfect in the mirror can disappear or distort in photos. Understanding this lets you compensate deliberately. The aim is a look that reads polished through a lens, not just up close. Try a magazine-cover style on your selfie to see how the camera interprets your current routine.
Build Dimension Back In
Because flash and lenses flatten the face, a touch more bronzer and blush than usual keeps you from looking washed out. Soft contour in the hollows restores the bone structure the camera erases. Keep it blended so it never looks stripey in print. This extra dimension is what separates flat snapshots from striking portraits.
Beware of Flashback
Many setting powders, primers, and SPF contain ingredients that bounce flash and leave a white cast in photos. Avoid heavy translucent powders with SPF or silica overload on the face. Test your products with a flash selfie before any event. A flashback ghost on your cheeks is one of the most common photo-makeup disasters.
Control Shine, Keep Glow
Cameras read oil as harsh glare, so set the T-zone and any shiny zones with a light, flashback-free powder. But fully matte skin photographs lifeless, so keep a controlled glow on the high points. The balance of matte base and strategic luminosity reads as healthy, lit skin. Blotting papers are better than re-powdering for midday touch-ups.
Define Eyes and Brows
Lenses soften and lighten features, so slightly more defined brows, a touch more liner, and an extra coat of mascara keep your eyes from vanishing. Avoid going so heavy it looks harsh in person; aim for one notch up from your everyday. Curled lashes open the eye for the camera. Defined-but-blended is the photo sweet spot.
Choose Lip Colors That Translate
Very pale nudes can make you look washed out on camera, while a defined lip adds polish and focus. A rosy, berry, or classic red lip photographs vibrant and healthy. Line the lips so the shape stays crisp under any lighting. Blot and reapply for a long-wearing, camera-proof finish.
Final Checks Before the Shutter
Take a few test photos in the actual lighting and adjust: more glow if you look flat, more powder if you look shiny. Check for flashback, blend lines, and color balance. Daylight, flash, and warm indoor light each render makeup differently, so test the one you'll be in. A two-minute camera check beats a thousand reshoots.
The quick checklist
- Add a touch more blush and contour for dimension
- Avoid SPF and silica powders that cause flashback
- Set the T-zone but keep high-point glow
- Define brows, liner and lashes one notch up
- Choose a defined lip that photographs vibrant
- Take test photos in the real lighting first
✦ Free to start✨ Try these looks on your own selfie with GlowMaxing →Upload one selfie and try any hairstyle, color or makeup look instantly with AI. Free to start.Download on theApp Store