Published November 5, 2025
Recreate a flawless, camera-ready glam look with drugstore tools and a little patience.
What Makes Glam Look Expensive
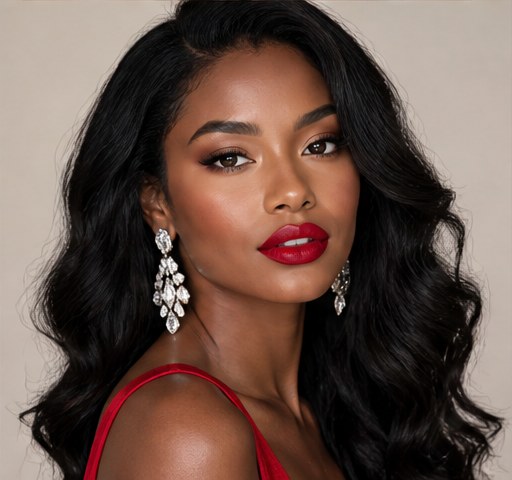
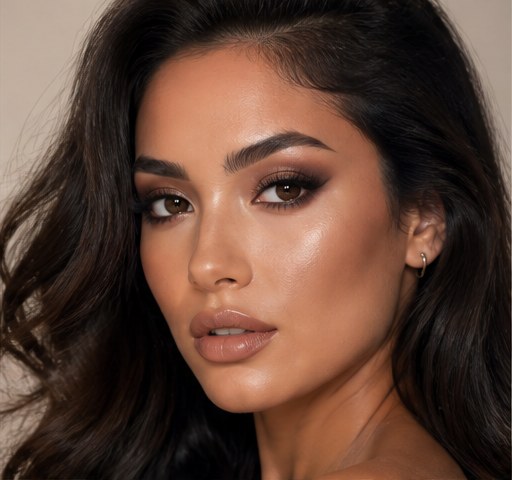
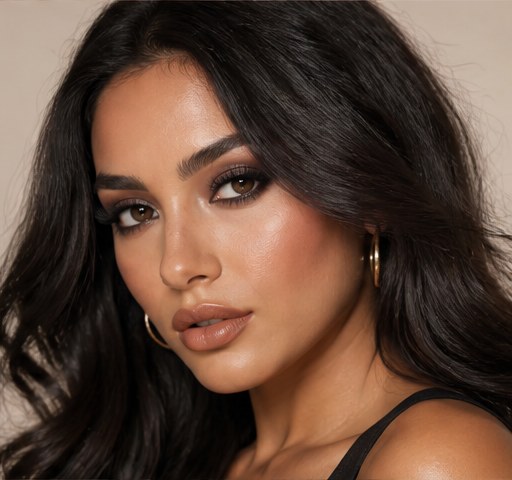
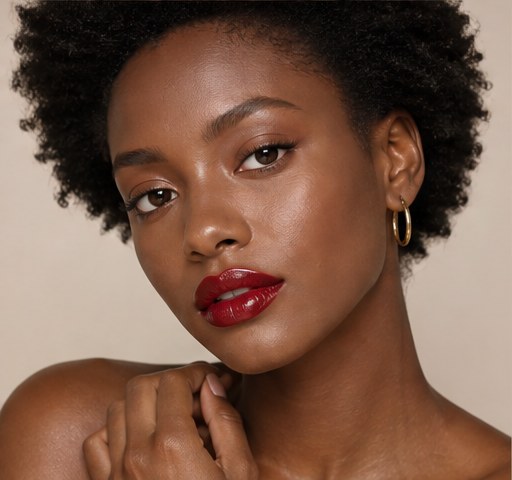
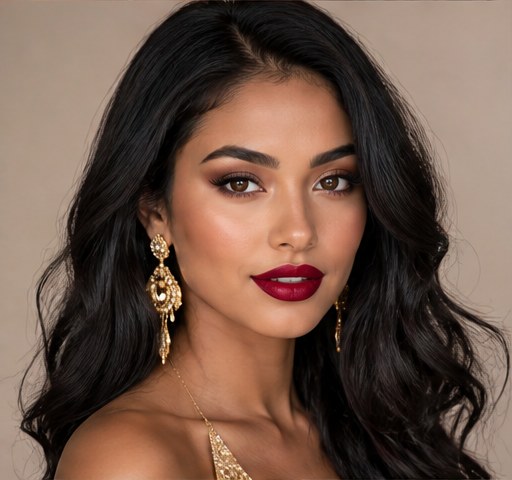
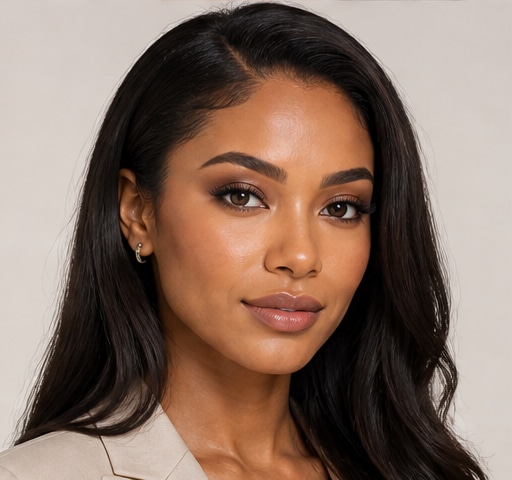
Red carpet makeup is not about more product, it is about precision, blending and luminous skin that looks lit from within. The hallmark is a flawless but breathable base, a sculpted cheek, a defined eye and a confident lip. You can absolutely achieve it at home with patience and good blending. Map your look first by previewing glam styles on your selfie in GlowMaxing so you know your endpoint.
Prep Is Half the Battle
Glam clings to well-prepped skin, so start with a hydrating moisturizer and a grippy primer. Let each layer sink in before the next so nothing pills or slides. A dab of eye cream and a lip scrub stop concealer creasing and lipstick flaking. Skin prep is the unglamorous step that makes everything on top look professional.
A Flawless, Lasting Base
Build coverage in thin layers with a damp sponge, focusing product only where you need it. Color-correct dark areas before concealer rather than piling on foundation. Set the T-zone and under-eyes with a fine powder, leaving the high points dewy. Bake the under-eye briefly for a crease-proof, camera-ready finish.
Sculpting and Glow
Contour with a cool-toned shade just under the cheekbone, along the hairline and jaw, blending hard until there are no edges. Add blush to the apples and a swipe of highlighter on the cheekbones, brow bone and cupid's bow. The interplay of shadow and light is what gives that sculpted red-carpet dimension. Keep contour soft; harsh stripes read amateur on camera.
A Defined, Glam Eye
A classic smoky eye or a sharp wing reads instantly polished. Pack a transition shade through the crease, deepen the outer corner, and smoke a little color along the lower lash line. False lashes or several coats of mascara open the eye for photos. A clean inner-corner highlight makes the whole eye look brighter and more awake.
The Statement Lip
Glam usually calls for a defined lip, whether a classic red, a deep berry or a glossy nude. Line and slightly overline for fullness, fill in, then blot and reapply for staying power. A matte finish reads dramatic while a satin finish photographs softer. Match the lip's undertone to your eye look so the face feels balanced.
Lock It In for Photos
A setting spray melts powders into the skin and stops the cakey look that flash exaggerates. For long events, blot oil rather than re-powdering to avoid buildup. Pat translucent powder only where you shine. Take a test photo with flash at home so you can adjust before the real moment.
The quick checklist
- Prep with hydrating moisturizer and grippy primer
- Build base in thin layers with a damp sponge
- Color-correct before concealer, then bake the under-eye
- Blend contour until there are no hard edges
- Add false lashes or several mascara coats for photos
- Lock everything with setting spray and a flash test
 ✦ Free to start✨ Try these looks on your own selfie with GlowMaxing →Upload one selfie and try any hairstyle, color or makeup look instantly with AI. Free to start.Download on theApp Store