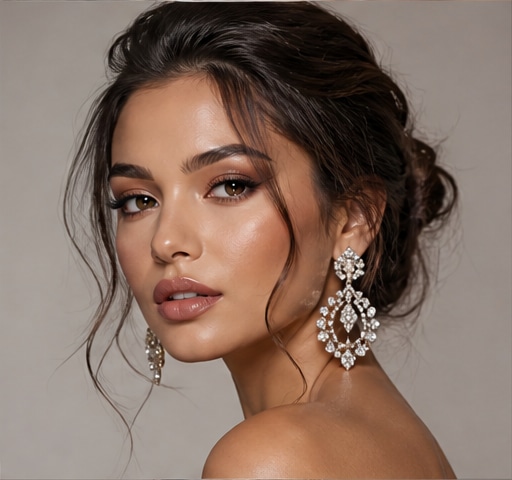
 Try this styleon your selfie · free
Smudge-Proof Lip Looks for All-Day Wear
Published July 6, 2026
The layering tricks, formulas, and application order that keep your lip color flawless through coffee, dinner, and conversation.
Why Lip Color Fades and Bleeds
Lipstick disappears for predictable reasons: friction from talking, eating, and drinking; moisture from saliva and oily foods; and formulas that sit on top of the lips instead of gripping them. Creamy, glossy, and hydrating lipsticks feel comfortable but transfer the fastest because they never fully set. Smudging and feathering happen when color migrates into the fine lines around the mouth, usually because the lips weren't prepped or a barrier wasn't created. Understanding this tells you the fix: you want color that bonds to the lips, a setting step that locks it down, and a clean perimeter so nothing bleeds outward. The good news is that long-wear lips are about technique and layering order, not just buying one magic product. Master the sequence below and you can make almost any color last through a full day.
Prep Lips So Color Has Something to Grip
Smudge-proof lips start before any color goes on. First, gently exflate flaky skin with a damp washcloth or a sugar lip scrub once or twice a week; color clings to dry patches and looks uneven over them. Apply a thin layer of lip balm and let it absorb for a few minutes, then blot off the excess with a tissue, you want hydrated lips, not a slippery surface that repels pigment. Skipping the blot is a common mistake that makes everything slide. If you tend to bleed, dab a tiny amount of concealer or foundation around the lip line and on the lips themselves, then set lightly with translucent powder. This creates a matte, grippy base and a faint barrier that stops feathering. Prepped lips are the foundation of every long-wear look; rushing this step undoes everything you do after it.
Build the Long-Wear Base With Liner
Lip liner is the secret weapon for staying power, not just definition. Line your natural lip shape, then fill in the entire lip with the liner, not just the outline. A full base of liner gives your lipstick something to cling to and means that even as the top color wears down, you're left with a soft stain instead of a patchy ring. Choose a liner that matches your lipstick or your natural lip tone so the fade looks seamless. Use light, feathered strokes and define your cupid's bow and corners precisely, since those areas wear first. If you want a fuller look, you can subtly extend just past your natural line, but keep it believable. This liner-all-over technique alone can double how long any lipstick lasts, and it's the step most people skip.
Choose and Layer the Right Formula
Formula choice decides your ceiling for longevity. Long-wear liquid lipsticks and transfer-proof matte formulas grip hardest because they dry down and set, making them the most smudge-proof option for events, long days, or maskless dinners. The trade-off is they can feel drying, so prep well. For a softer look that still lasts, apply a regular lipstick, blot with a tissue, dust a whisper of translucent powder over the lips through a single ply, then apply a second thin coat. This blot-powder-reapply method builds a stain-like base that survives meals. Lip stains and tints are naturally long-wearing because they soak into the lips rather than sitting on top, perfect under a gloss. Whatever you choose, apply thin layers, thick single coats slide and transfer, while two thin layers set evenly and hold far longer.
Lock It In and Survive Meals
Once your color is applied, lock it down. Press lips together, blot once more on a tissue, and if your formula allows, set with the lightest dusting of translucent powder for an extra-matte, ultra-stay finish. To handle eating, drink through a straw when possible and blot rather than wipe your mouth, pressing a napkin straight down instead of dragging. Avoid oily, greasy foods that break down lip products fastest. If you need a midday touch-up, blot away any worn center, reline the edges, and reapply a thin layer to just the middle, the perimeter liner is usually still intact. A clean cotton swab around the edges erases any creep. Carry your liner more than your lipstick; refreshing the lip line is what keeps the look crisp from morning to night, even hours after your last application.
Smudge-Proof Looks for Every Occasion
You can tailor smudge-proof technique to any vibe. For a classic bold red that won't budge through a long event, go full liner base plus a transfer-proof liquid matte. For an everyday 'my lips but better' look, use a lip stain topped with a tinted balm; it fades evenly and survives coffee without fuss. For a glossy finish that still lasts, layer a lip stain underneath so color remains even after the shine wears off, then refresh just the gloss. A blurred, soft-matte look comes from a lip stain plus a thin matte lipstick pressed in with your fingertip. Before committing to a bold shade for a big day, you can preview lip colors on your own selfie with GlowMaxing to see what flatters you. Whatever the occasion, the layering order, prep, liner, thin color, set, is what makes it last.
The quick checklist
- Exfoliate and lightly hydrate lips, then blot off excess balm before color
- Fill in your entire lip with liner, not just the outline
- Choose transfer-proof matte or liquid formulas for the longest wear
- Use the blot-powder-reapply trick to turn any lipstick into a stain
- Layer a lip stain under gloss so color survives after shine fades
- Apply two thin coats instead of one thick, slippery layer
- Blot, don't wipe, your mouth and drink through a straw at meals
- Carry your liner for crisp midday touch-ups around the edges
✦ Free to start✨ Try these looks on your own selfie with GlowMaxing →Upload one selfie and try any hairstyle, color or makeup look instantly with AI. Free to start.Download on theApp Store