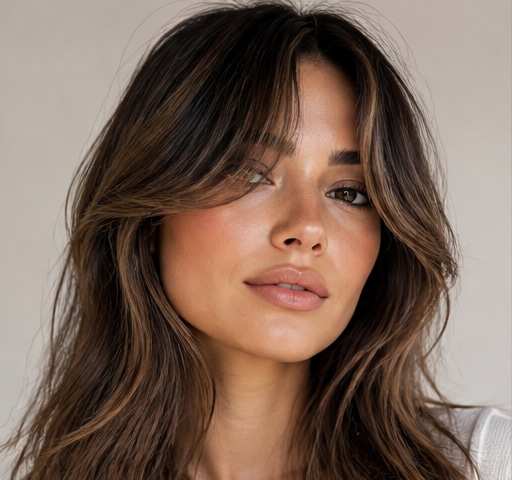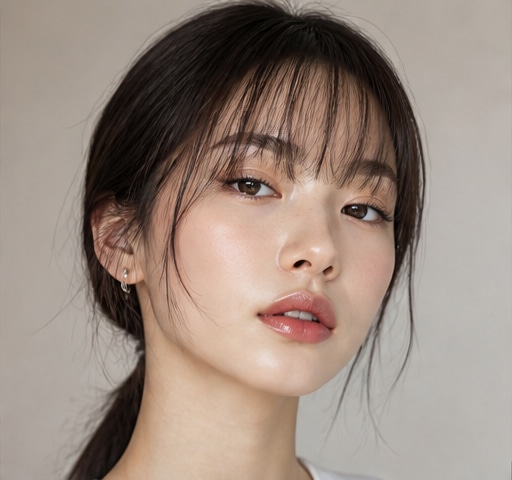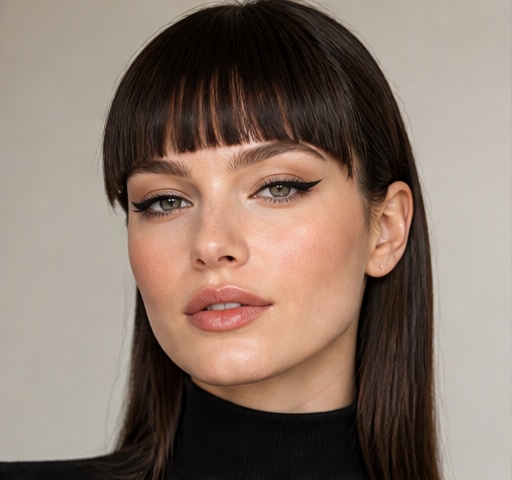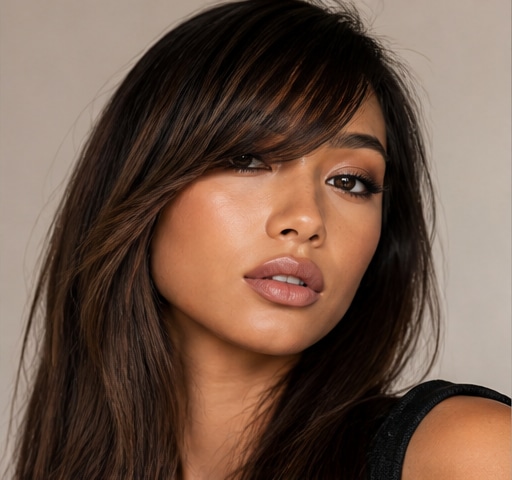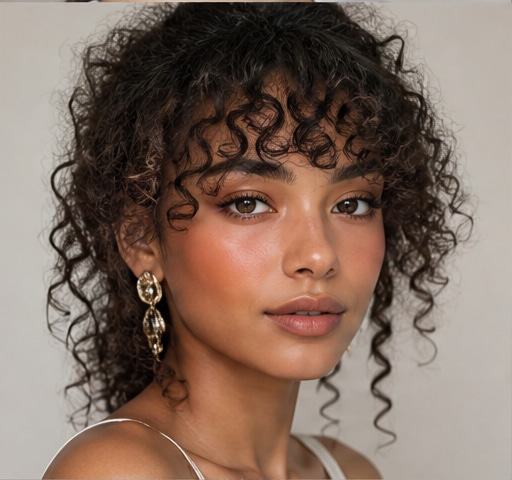
Curly Fringe is the playful, springy bang — soft curls cut into a face-framing fringe. Cute and characterful.
Because it relies on technique more than product, it's kind to your hair and your time. The full routine, tools and aftercare are below.
 ✦ Free to start✨ Try Curly Fringe on your selfie →Upload one selfie and try any hairstyle, color or makeup look instantly with AI. Free to start.Download on theApp Store
How to get the look
- 1
Start on clean, towel-dried hair and mist with heat protectant.
- 2
Rough-dry, then section and shape with a round brush or wand.
- 3
Define the style — waves, volume or sleekness — working in small pieces.
- 4
Set with a flexible hairspray and break it up with your fingers.
What you'll need
Hand-picked products — tap to shop on Amazon or Google Shopping.
- Round brushOlivia Garden ceramic round brush
- Ionic blow dryerDyson Supersonic hair dryer
- Heat protectantColor Wow Dream Coat heat protectant
- Curling wandghd curve curling wand
- Sectioning clipsDiane sectioning hair clips
- Texturizing sprayOribe Dry Texturizing Spray
- HairsprayLOreal Elnett hairspray
Your step-by-step product routine
Use them in this order for the best, longest-lasting result.
- 1
Protect. On damp hair, mist a heat protectant (Color Wow Dream Coat) from root to tip — it shields the strand and cuts heat damage by up to 70%.
- 2
Rough-dry. Take hair to 80% dry with an ionic dryer (Dyson Supersonic) to fight frizz, then smooth and lift the roots with the round brush.
- 3
Section. Clip hair into sections (Diane clips) and work one at a time — small sections give a far cleaner, longer-lasting result.
- 4
Shape. Style each section with the wand or brush (ghd), curling away from the face and leaving the ends out for a modern bend.
- 5
Texture. Once cool, work in a little texturising spray (Oribe) for grit, separation and movement.
- 6
Set. Mist a flexible hairspray (Elnett) and break the shape up with your fingers so it moves instead of helmet-setting.
Pro tips
- Cool each curl fully before touching it — heat sets the shape as it cools.
- Curl away from the face for the most flattering, modern bend.
- Tip your head upside down for the last minute of drying to build root volume.
- Smaller sections give cleaner, longer-lasting results than big ones.
How to make it last
Protect the shape while you sleep and it'll last a second or third day with minimal effort.
- Loose top-knot or silk bonnet at night
- A blast of cool air revives a flat section
- Dry shampoo at the roots buys you another day
Common mistakes to avoid
- Styling soaking-wet hair — get to 80% dry first or it won't hold.
- Curling everything in one direction so it looks stiff.
- Skipping heat protectant, then wondering about the breakage.
FAQ
How do I know a hairstyle will suit me?
Match the cut to your face shape and hair texture — or skip the guesswork and preview it on your own face with GlowMaxing first.
How often should I trim?
Every 8–12 weeks keeps layers sharp and stops split ends travelling up.
Can I try a big chop before committing?
Yes — try a bob, pixie or curtain bangs on your selfie with AI before the scissors come out.