 Try this styleon your selfie · free
How to Trim Your Own Bangs Safely
Published January 17, 2026
Stretch the time between salon visits with a foolproof method that keeps you out of bang regret.
Why DIY Bang Trims Work
Bangs grow faster than the rest of your hair seems to, drifting into your eyes long before a salon appointment comes around. A careful at-home trim keeps them fresh, saves money, and means you are never stuck behind a curtain of overgrown fringe. The secret is restraint: you are dusting and shaping, not re-cutting the whole fringe. Master a conservative technique and you can confidently maintain bangs between professional cuts.
Get the Right Tools
Never use kitchen or craft scissors, which are dull and crush the hair, causing splits and uneven lines. Invest in a small, sharp pair of hair-cutting shears, the single most important tool for a clean result. A fine-tooth comb helps you part and control the section precisely. Good lighting and a large mirror, ideally with a second mirror to check angles, round out your setup.
Prep Before You Cut
Always trim bangs dry, because wet hair stretches and shrinks back shorter once it dries, the classic cause of too-short bangs. Style your bangs the way you normally wear them so you cut them in their natural fall. Clip the rest of your hair away and isolate only the bang section in its usual triangular part. Take a breath and commit to cutting less than you think you need, since you can always remove more.
The Point-Cutting Technique
Hold the section between your index and middle fingers and pull it down to where you want the new length. Instead of cutting straight across, which creates a harsh blunt line, snip upward into the hair at a vertical angle, called point-cutting, to soften the edge. Take tiny snips and work slowly, releasing the section to check your progress often. This vertical, piecey approach forgives small mistakes far better than one straight cut.
Shape Curtain and Side-Swept Bangs
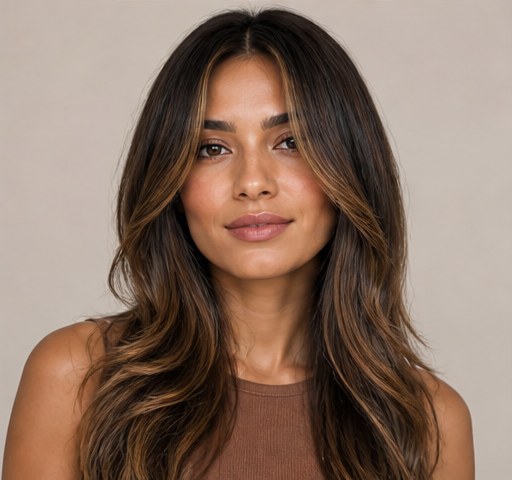
For curtain or bottleneck bangs, twist each side gently and point-cut at an angle so the ends are longer toward the face. Cut the center slightly shorter and let the length increase as you move outward for that flattering sweep. Comb everything back into place and check the symmetry between the two sides. Trim conservatively on each pass, alternating sides so they stay even.
Avoid the Classic Mistakes
The biggest errors are cutting wet, cutting too much at once, and pulling the hair down at an angle that distorts the line. Resist the urge to fix one uneven spot by chopping more, which spirals into shorter and shorter bangs. If something goes wrong, stop and let a stylist correct it rather than digging deeper. Trimming little and often beats a single dramatic session every time.
Know Your Look First
Before you pick up the shears, be sure of the shape you are aiming for. Use GlowMaxing to preview your bangs at different lengths and styles on your selfie, so you have a clear target before cutting. Seeing how a touch shorter or a softer sweep will look helps you cut with intention instead of guessing. A little visual planning is the best insurance against a DIY trim you regret.
The quick checklist
- Use sharp hair shears, never kitchen scissors
- Always trim bangs completely dry
- Style bangs as usual before cutting
- Point-cut upward for a soft edge
- Take tiny snips and check often
- Cut less than you think you need
✦ Free to start✨ Try these looks on your own selfie with GlowMaxing →Upload one selfie and try any hairstyle, color or makeup look instantly with AI. Free to start.Download on theApp Store